Outdoor Instruments can turn an ordinary park route into a participatory public-space experience, but a successful music trail takes more than placing chimes beside a path. Landscape Architects, Playground Specialists, and Council Planners must coordinate circulation, accessible participation, sound, materials, safety, and future maintenance. This guide provides a practical framework for specifying outdoor musical experiences that support a clear site purpose and can be operated responsibly over time.
Plan Outdoor Instruments Around a Clear Public-Space Brief
Start with the purpose of the place, not a list of instruments. A music trail may support active play in a neighbourhood park, add sensory activity to a school landscape, animate a civic promenade, or create gentle interaction in a garden setting. Each purpose changes the appropriate route, instrument mix, supervision conditions, and maintenance plan.
Before concept design, agree on the following points:
Users and use patterns: ages, peak periods, group sizes, supervision, and likely dwell time.
Project role: a destination feature, a connection between park zones, a learning resource, or a calm sensory stop.
Site conditions: existing paths, gradient, drainage, tree roots, utilities, seating, lighting, and nearby residences.
Operational limits: inspection capacity, replacement-part availability, cleaning approach, vandalism risk, and acoustic expectations.
Procurement evidence: drawings, material schedules, installation information, warranties, and maintenance documents required at handover.
Writing these requirements into the brief gives all bidders the same decision framework. It also prevents a visually appealing concept from creating avoidable conflicts with the route, landscape works, or local approvals later in the programme.
Map the Route Before Choosing the Instrument Mix
A music trail works best when the route offers a sequence of reasons to pause, play, and continue. It should not become an obstacle course or an unplanned collection of noisy objects. Begin with a pedestrian movement map, then locate musical nodes where they support wayfinding, rest, or exploration.
Consider four route conditions:
| Route condition | Planning question | Design response |
| Arrival point | How will visitors understand that the trail is interactive? | Use one welcoming, easy-to-reach instrument or interpretive element without blocking circulation. |
| Active play zone | Will the instruments complement nearby play, rather than compete with it? | Group higher-energy activities with other active uses and allow enough space for carers and passers-by. |
| Landscape or quiet edge | Could sound affect homes, wildlife areas, or reflective building façades? | Select lower-intensity activities, increase separation, and review local noise requirements. |
| Rest or gathering point | Can people participate while seated, standing, or observing? | Include reachable, ground-level interaction and nearby seating outside active circulation. |
Treat each node as part of the wider landscape system. Protect clear walking routes, coordinate foundations with drainage and utilities, and avoid locating mallets, chimes, or frames where they create pinch points or encroach into a required route.
Outdoor Instruments Specification Checklist
For every outdoor instrument or group of instruments, ask the supplier to provide:
overall dimensions, user approach area, recommended age range, and intended play activity;
materials, protective finishes, corrosion considerations, and exposed fastener details;
foundation, anchoring, loading, and installation information;
product-specific use-zone, fall-height, or surfacing requirements where applicable;
acoustic information or a demonstration plan where the setting is noise-sensitive;
accessible approach and reachable-activity information for the proposed configuration;
installation, inspection, cleaning, spare-parts, and warranty documentation.
This checklist makes it easier to compare proposals on a like-for-like basis. It also gives playground equipment specifiers a documented route from concept design to technical review. For broader product coordination, explore Aegis Play’s commercial playground equipment portfolio alongside the music-trail brief.
Choose Play Experiences, Not Just Instrument Names
An effective trail combines different ways of participating. A single instrument type can look consistent, but a varied play sequence is more useful for mixed-age groups and repeat visitors.
Consider balancing these activity types:
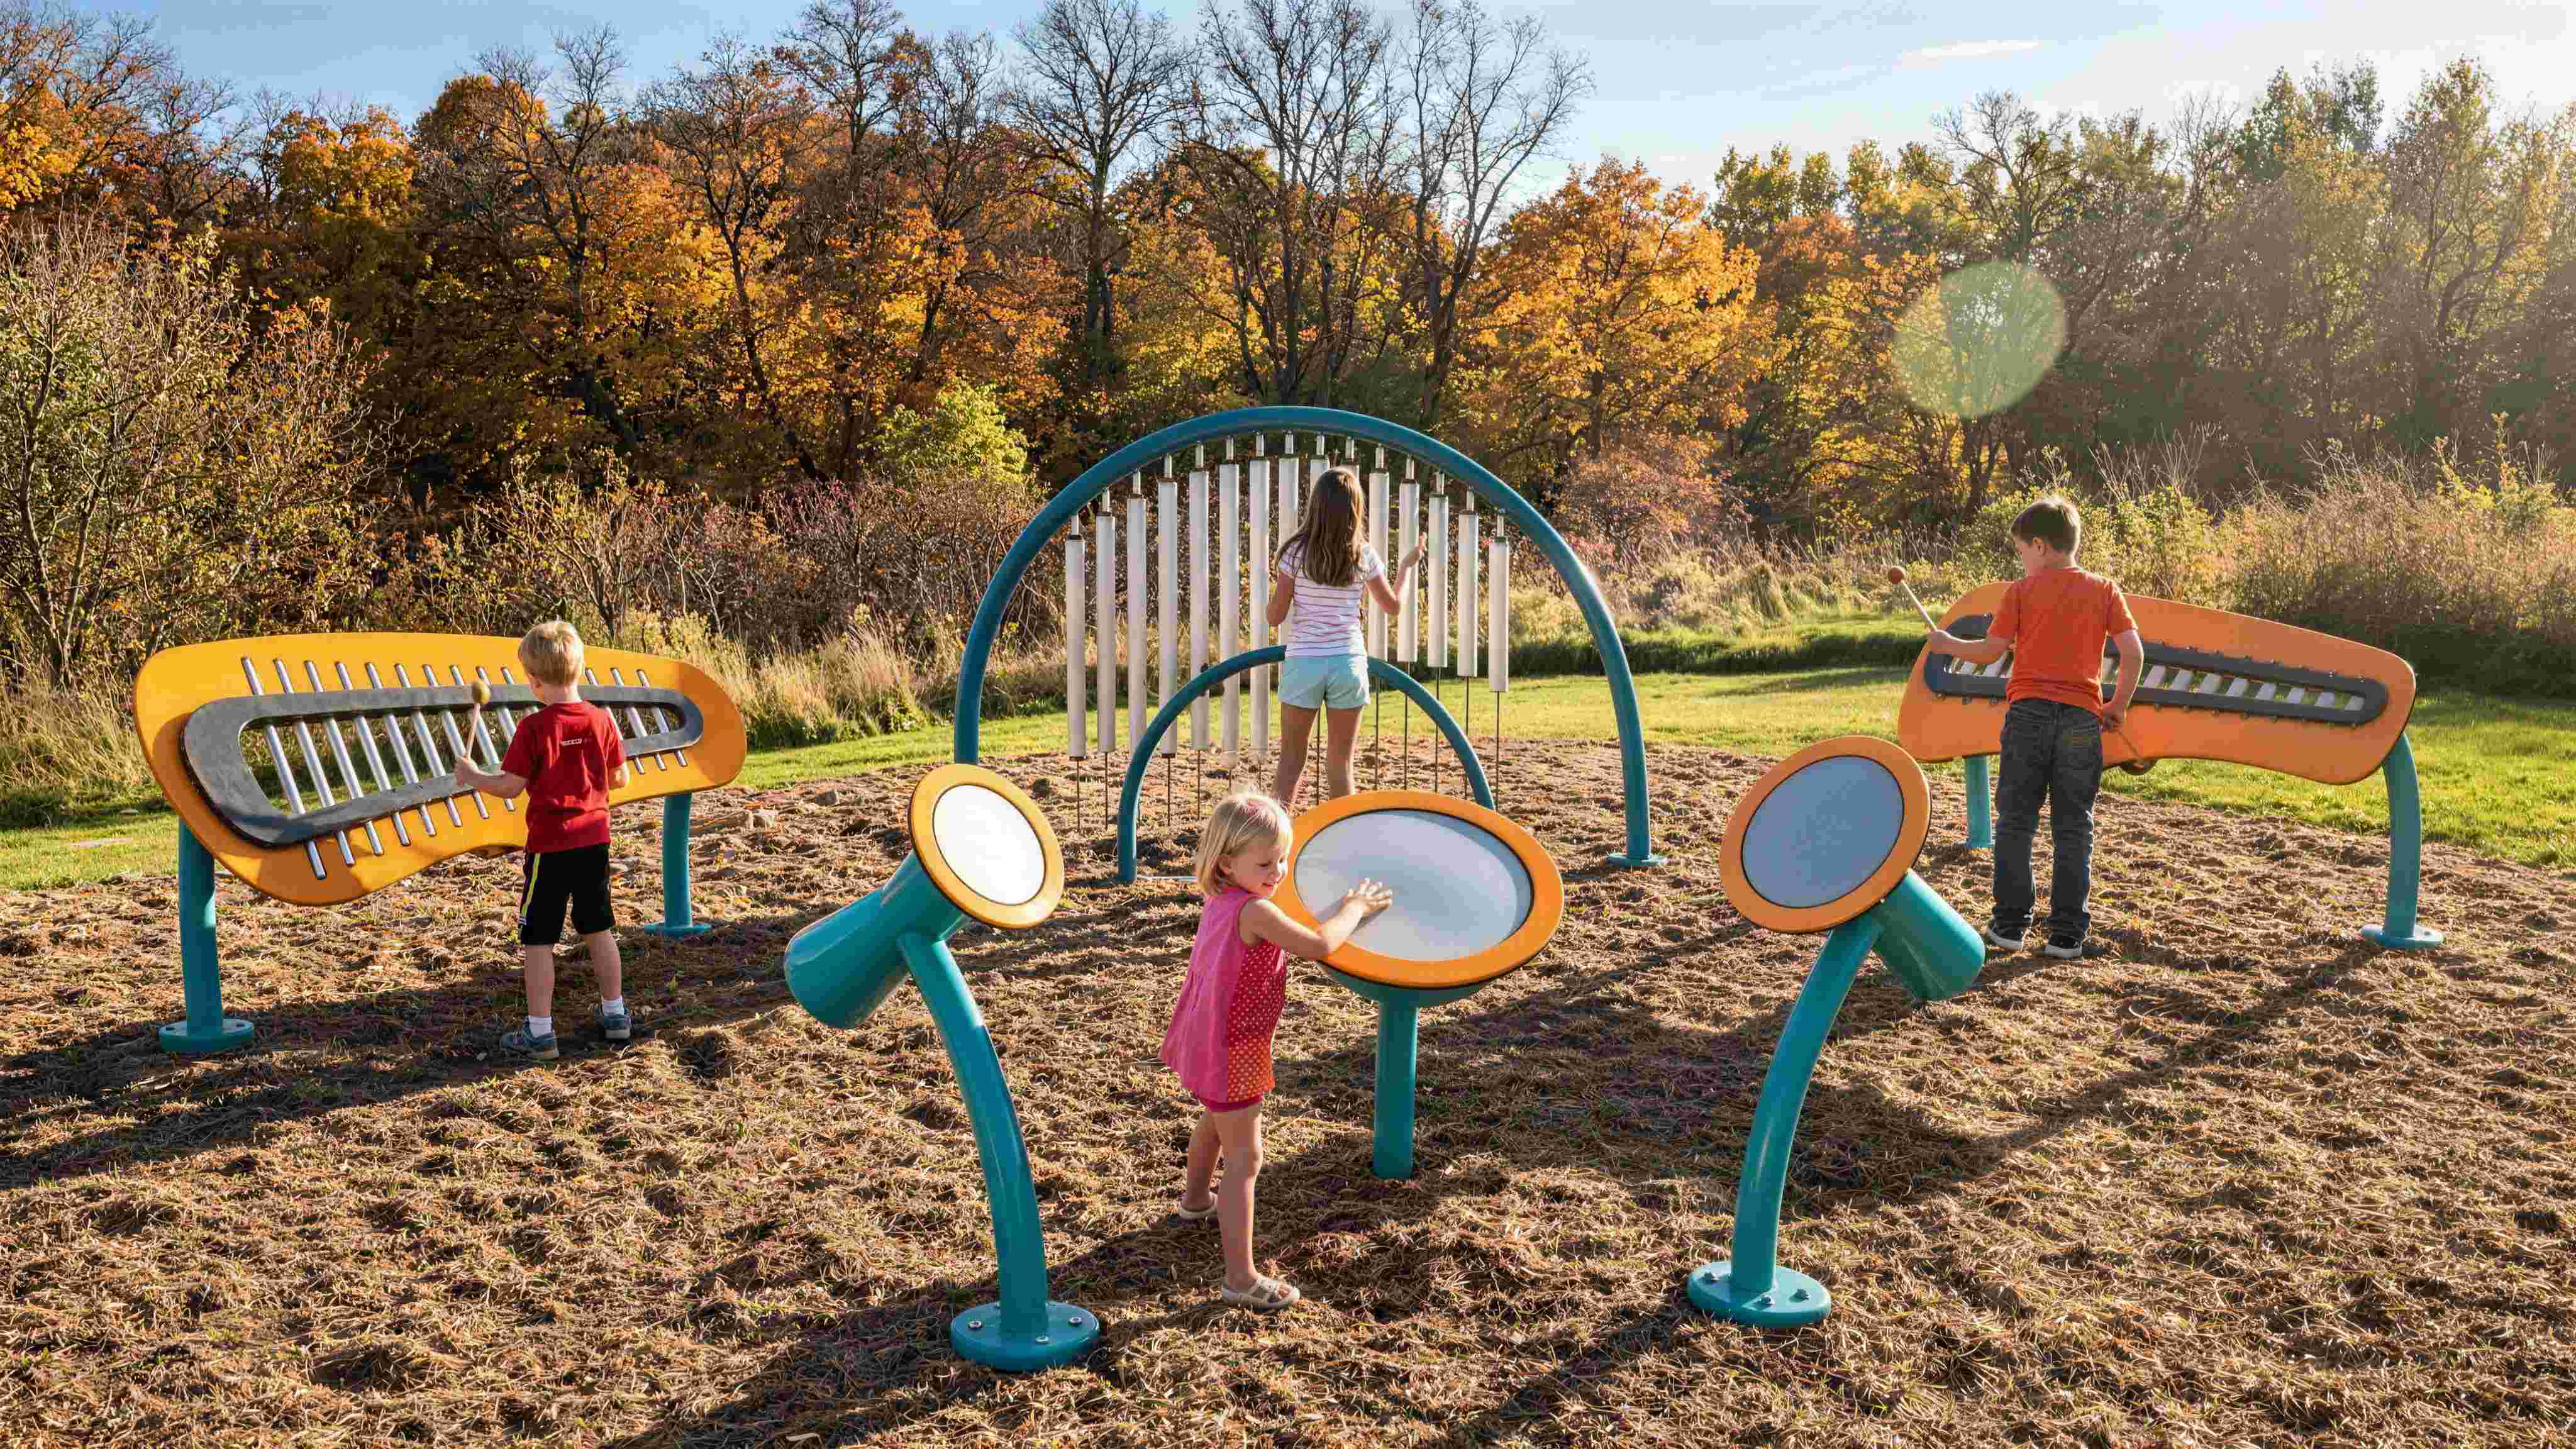
Rhythm and movement: drums, beat panels, or percussion pieces that support group play and turn-taking.
Melody and pattern: xylophone-style or chime-style instruments that encourage sequencing and listening.
Sensory discovery: quieter sound elements, listening tubes, or tactile interfaces that invite shorter, lower-pressure participation.
Social play: paired instruments and spaced nodes that let users respond to one another without concentrating everyone in one point.
The desired sound character must be discussed with the selected supplier, rather than assumed. Some product ranges are designed with layouts or note sets that make casual participation easier; others provide a broader musical range. Specify the intended use—free exploration, guided learning, therapeutic programming, or public events—before finalising the product schedule.
Design for Inclusive Participation Along the Whole Trail
Inclusion is a route-level decision, not an item-level add-on. A person should be able to arrive, approach an activity, participate in more than one way, and remain with their group without encountering unnecessary barriers.
For U.S. projects, the ADA play-area guidance explains that play areas have specific scoping and technical requirements. Whether those requirements apply to a particular music-trail node depends on the installation and local jurisdiction. Confirm the applicable rules with the authority having jurisdiction rather than describing any instrument as automatically ADA compliant.
Useful inclusive-design questions include:
Is there an accessible route from the park entrance, parking, or public path to the activity?
Can participants engage from a seated, standing, or mobility-device position where appropriate?
Are visual, tactile, and auditory cues combined, rather than relying on one sense alone?
Is there room for a companion, carer, or small group to participate together?
Are resting places, shade, and clear sightlines available near the trail?
Where the project includes a wider play area, integrate the music trail with playground systems so that musical participation is part of the overall play offer rather than an isolated feature.
Coordinate Materials, Acoustics, and Landscape Context
Outdoor musical equipment is exposed to weather, regular touch, cleaning, and potential misuse. Material selection should be assessed against the local climate, coastal exposure, temperature range, landscape maintenance regime, and the expected level of public use.
Ask for clear information about finishes, corrosion resistance, drainage around bases, UV exposure, tethered components, and replacement parts. Avoid generic claims such as “maintenance-free.” Every public installation needs inspection and care; the relevant question is whether the operator receives practical instructions and can access the necessary components over the asset’s life.
Acoustics also deserve an early conversation. The sound level and character will depend on the individual product, how it is played, wind, surrounding hard surfaces, vegetation, and the distance to nearby users or homes. For noise-sensitive locations, include a site-specific acoustic review or on-site demonstration in the design process. Do not promise that a music trail will never generate complaints.
Mid-article CTA: Discuss your site constraints, desired participation style, and specification requirements with Aegis Play’s project support team before finalising the layout or tender package.
Specify Safety and Compliance by Installation Type
Safety requirements depend on how the equipment is classified, where it is installed, who will use it, and which local rules apply. When outdoor instruments form part of public playground equipment in the United States, project teams should consult the applicable edition of ASTM F1487 together with local requirements. The CPSC Public Playground Safety Handbook is also a useful public-safety reference for purchasers, designers, installers, and operators.
For European public playground projects, EN 1176 is commonly used as the relevant playground equipment and surfacing standard series. A product’s stated compliance must be checked against the actual configuration, installation method, and market. Do not transfer a generic product claim into a project specification without supporting documents.
The specification should address, where relevant:
edges, openings, protrusions, entanglement, and moving or tethered components;
the relationship between the instrument, surrounding route, and any required protective surfacing;
foundations, anchoring, manufacturer installation instructions, and post-installation inspection;
signage, supervision context, and maintenance records;
quality-management documentation when a supplier references a system such as ISO 9001:2015.
Plan Procurement, Installation, and Handover Early
Procurement is more reliable when the brief separates equipment costs from the site works needed to make the trail usable. Include civil works, utility investigations, bases, drainage, surfacing, access, delivery, installation, inspection, landscaping reinstatement, and contingency in the project budget.
During tender review, compare more than appearance and unit cost. Review drawings, anchor details, lead time, freight, installation scope, maintenance responsibilities, warranty terms, and the completeness of the handover pack. Before opening, confirm that the built route, accessible approach, foundations, finishes, and any required inspections align with the approved documents.
At handover, the operator should receive final layout drawings, product data, installation records, inspection requirements, routine-maintenance instructions, warranty information, and a spare-parts contact. Reviewing relevant Aegis Play case studies can help a project team frame questions for its own site, but each project still needs its own technical and regulatory review.
Turn a Park Path Into a Purposeful Public Experience
Outdoor Instruments are most successful when they are planned as part of a coherent route, landscape, and operational system. A clear brief, balanced activity mix, accessible participation, evidence-led specification, and practical handover process will help the music trail serve its intended community over time.
If you are planning outdoor instruments for a park, school, civic landscape, or public route, contact Aegis Play with your site plan, target users, preferred activity types, and local requirements. The earlier these inputs are coordinated, the easier it is to develop a music trail that is engaging, specified, and ready for procurement.
Frequently Asked Questions
Can outdoor instruments be added to an existing park path?
Often, yes. Start with a survey of path widths, levels, underground services, drainage, sightlines, adjacent uses, and maintenance access. The proposed instruments should then be checked against the route, foundation requirements, local approvals, and any accessible-route obligations before a final layout is issued.
How can a music trail support inclusive public-space design?
Provide more than one way to engage: standing or seated interaction, visual and tactile cues, clear approach routes, places to rest, and room for companions. Confirm applicable accessibility requirements for the site and product configuration; no single item should be assumed to make an entire trail inclusive.
Do outdoor musical instruments need protective surfacing?
It depends on the product, installation, intended use, and applicable standards. Ask the manufacturer for the product-specific use zone, fall-height, and surfacing guidance, then coordinate it with the route design and local requirements. Do not apply one surfacing approach to every instrument by default.
How should designers manage noise near homes or quiet landscapes?
Assess the proposed products and their setting early. Consider separation distance, orientation, surrounding hard surfaces, vegetation, likely use times, and local noise rules. Where sensitivity is high, request an on-site demonstration or specialist acoustic advice before procurement.
What documents should a Council Planner request at handover?
Request final drawings, product data, foundation and installation information, inspection records where required, maintenance instructions, warranty terms, spare-parts contacts, and evidence supporting any safety or quality claims made in the tender.